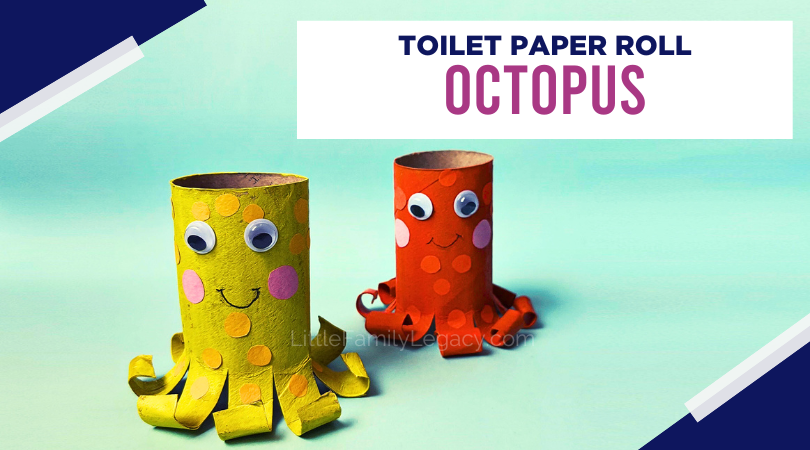
Hey there, friends! Today I’m excited to share our latest crafting adventure—the Toilet Paper Roll Octopus! This project turned out to be an absolute blast, filled with laughter, a sprinkle of chaos, and, of course, a few creative surprises along the way. Join me as I take you through our fun-filled day, the challenges we faced, and the tips we gathered to ensure that every little artist in the family could dive right into the fun, regardless of age!
It all started on a rainy afternoon when my kiddos, ages 3 and 7, were buzzing with energy. The rain was pouring outside, and we were itching to channel that energy into something creative. I grabbed a couple of empty toilet paper rolls from our recycling bin—yes, the craft supply treasure trove!—and we decided to make some colorful octopuses. Who knew that a simple roll could transform into a magical sea creature?
As we gathered our supplies—paints, markers, googly eyes, and a few random craft bits from our stash—I felt the excitement in the air. The kitchen table became our craft zone, and the first thing I noticed was the sheer delight in my kids’ eyes. They couldn’t wait to get started!
Supplies:
- Toilet Paper Roll.
- Colorful Paint.
- Paintbrushes.
- Pencil.
- Ruler.
- Scissors.
- Marker Pens.
- Craft Papers.
- Glue.
Instructions:
- Select a toilet paper to make your craft with.
- Use a paint of your choice to color the entire toilet paper roll.
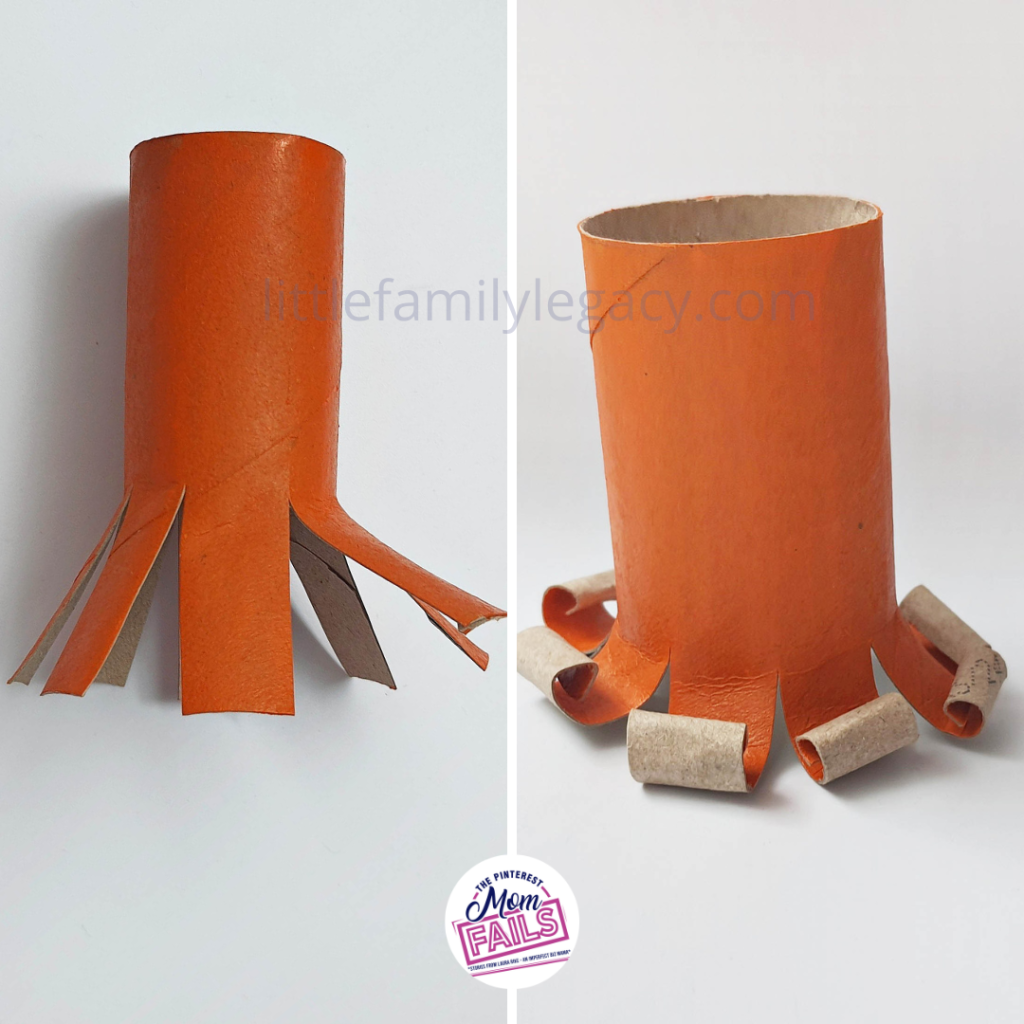
- Cut equal slits on the halfway through the toilet paper. You can use a ruler or measuring tape to measure your toilet paper roll’s diameter to help you cut equal slits.
- Spread the slits outwards.
- Roll the ends of the slits make the slits swirly.
- Paint the swirls using the same paint.
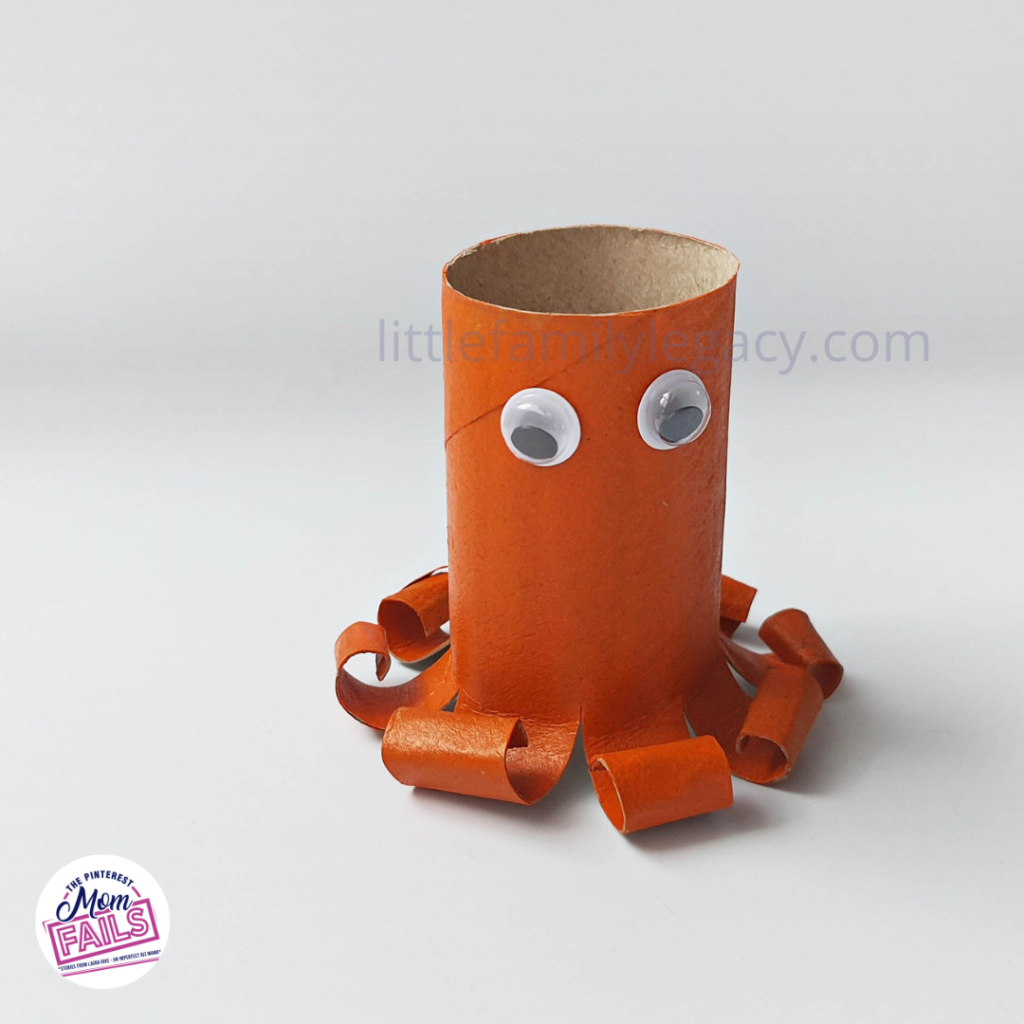
- Glue two googly eyes on the top part of the toilet paper roll.
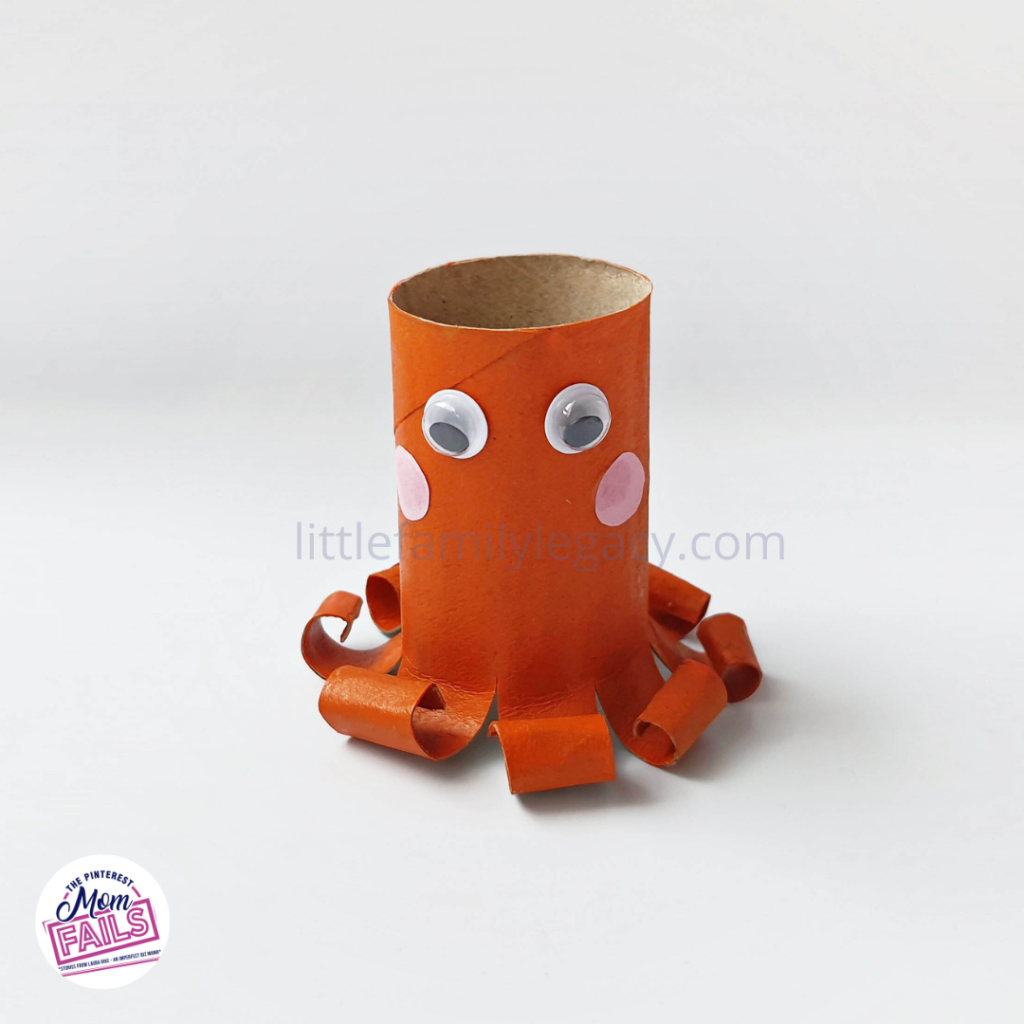
- Use a marker pen to draw the Octopus’s mouth
- Then, glue two pink circular papers on the two sides of the mouth.
- Cut out a deeper shade of orange circular cut outs.
- Glue them on the octopus.
The Joy of Creation
With our supplies spread out, we jumped right in. My 7-year-old, let’s call him “Captain Creative,” was determined to make the most spectacular octopus ever. He began by painting his toilet paper roll a vibrant blue, proclaiming it the color of the ocean. Watching him carefully apply paint, I was reminded of how art allows children to express their imagination. It was a beautiful moment, watching him transform an everyday item into something extraordinary.
Meanwhile, my 3-year-old, whom I affectionately call “Silly Bean,” took a different approach. He decided that his octopus needed to be a wild rainbow creature, grabbing every color of paint he could reach. His little hands were a flurry of activity, splattering colors and giggling as the paint dripped everywhere. While I tried to channel my inner Pinterest mom, I couldn’t help but embrace the joyful mess. This is what crafting is all about, right? The fun, the memories, and the beautiful chaos!
Facing the Challenges
As any parent knows, crafting with kids can come with its challenges. There were definitely a few moments that required some patience. For instance, when Silly Bean decided to use his painted octopus as a paintbrush for his sister’s project, I found myself in a little pickle. Just as I was about to intervene, Captain Creative burst out laughing, which set off a giggle fit that echoed through the kitchen. In that moment, I realized that sometimes, letting go of the “rules” leads to the best memories.
We also faced the classic dilemma of drying time. “Can we touch it now?!” was a recurring question. I had to explain the importance of waiting, which tested both kids’ patience. To make it fun, we turned the waiting game into a little competition—who could come up with the most imaginative name for their octopus while it dried? The sillier, the better!
Captain Creative dubbed his “Octo-Ocean Defender,” while Silly Bean named his “Wiggle Monster.” Hearing their giggles and watching their imaginations soar made the waiting time a joy instead of a chore.
Making It Come to Life
As the octopus bodies dried, we moved on to creating the legs. This part was where the real magic happened. I showed them how to cut strips from the bottom of the roll to create the octopus legs. Captain Creative meticulously counted and cut each one, while Silly Bean had a blast cutting in all directions—everywhere but where I had intended!
This led to a spontaneous moment where we embraced the unique shapes Silly Bean created. Instead of a traditional octopus, he ended up with a “multi-legged sea monster.” I encouraged him to own his creation, and we all laughed at how it became a new character in our crafting world.
Adding Personality
Once the octopuses were painted and legged, it was time for the fun part: giving them personalities! We glued on googly eyes, sequins, and even some leftover bits of yarn for hair. This is where their little imaginations really took flight. Captain Creative made his octopus look like a superhero, complete with a shiny sequined cape (okay, it was a bit of a stretch, but who am I to stifle his creativity?). Silly Bean, on the other hand, decided that his octopus needed a fuzzy mustache. Yes, a mustache!
The giggles and banter as they created their unique designs filled our home with joy. Each octopus told a story—one was a guardian of the sea, while the other was a silly creature that danced under the waves. It was a delightful reminder that every creation, no matter how messy or unconventional, has its own charm.
Tips for Crafting Success
As we wrapped up our octopus-making adventure, I jotted down a few tips that helped us along the way. Whether you’re crafting with toddlers or slightly older kids, these suggestions might make your experience even more enjoyable:
- Embrace the Mess: Crafting is about the process, not perfection. Let go of the need for a tidy space and enjoy the creative chaos!
- Encourage Imagination: Don’t be afraid to let your kids take the lead. If they want to turn an octopus into a unicorn, let them! Celebrate their creativity.
- Be Patient: Kids work at their own pace, and that’s okay. Use waiting times to engage in fun conversations or games.
- Have Fun with Names: Naming creations can spark creativity and keep kids engaged. Make it a game to come up with the silliest names.
- Celebrate Uniqueness: Every creation is special. Emphasize that it’s perfectly fine to have a “sea monster” instead of a classic octopus.
A Legacy of Creativity
As we cleaned up our crafting area and admired our creations, I felt a warm glow of satisfaction. Not just from the adorable octopuses we had made but from the laughter and memories we created together. These moments, filled with joy and creativity, are what I hope will become a part of our family legacy.
So, if you’re ever looking for a fun and easy craft to do with your kids, grab some toilet paper rolls and let the magic happen. Who knows? You might just create a new family tradition filled with laughter, love, and a dash of silliness. Happy crafting!