I set out to find a fun and interesting activity to keep my son busy and give him something to do with some quality sensory input. When looking through Pinterest ideas I seen this DIY kinetic sand recipe and I knew it was worth a try for a little fun. I love spending some time with him doing activities that help get his brain working, and help him be a bit independent so I can stay productive at home for a bit.

What is kinetic sand?
Kinetic sand is regular sand that has been coated in silicone oil. This gives it a very distinct texture and kinetic ability. While you can not completely match this at home with other oils you can make a homemade version of kinetic sand really easy at home and it has a similar consistency.
Kinetic sand is great for sensory exploration. The feel and sound of it while you mold, shape, crush, and cut can create a great sensation that is a favorite of many sensory seekers. For kids playing with DIY kinetic sand can help calm and relax. Sensory activities like kinetic sand are great for helping kids focus while listening to you read aloud to them.


How do you make kinetic sand at home?
You can make kinetic sand at home with two simple ingredients: sand and oil. One thing I learned while doing this with my son is that you have to play with the amount of oil and when making it this may be best to do after the kids go to bed so that they do not see and want to play with it before it has had time for the oil to set and really coat the sand.
The original recipe I found didn’t have enough oil which meant I had to play with it a bit but the amount of oil needed may be affected by the texture and dryness of the sand you are using. To change the texture a little bit to help it stick you can opt to make a 3 ingredient version by adding a bit of corn starch. This can be particularly useful if you are using very coarse sand but if you add cornstarch it tends to get even messier.
DIY kinetic sand recipe
- 2 1/2 cups sand
- 1 cup cornstarch
- 3/4 cup of oil
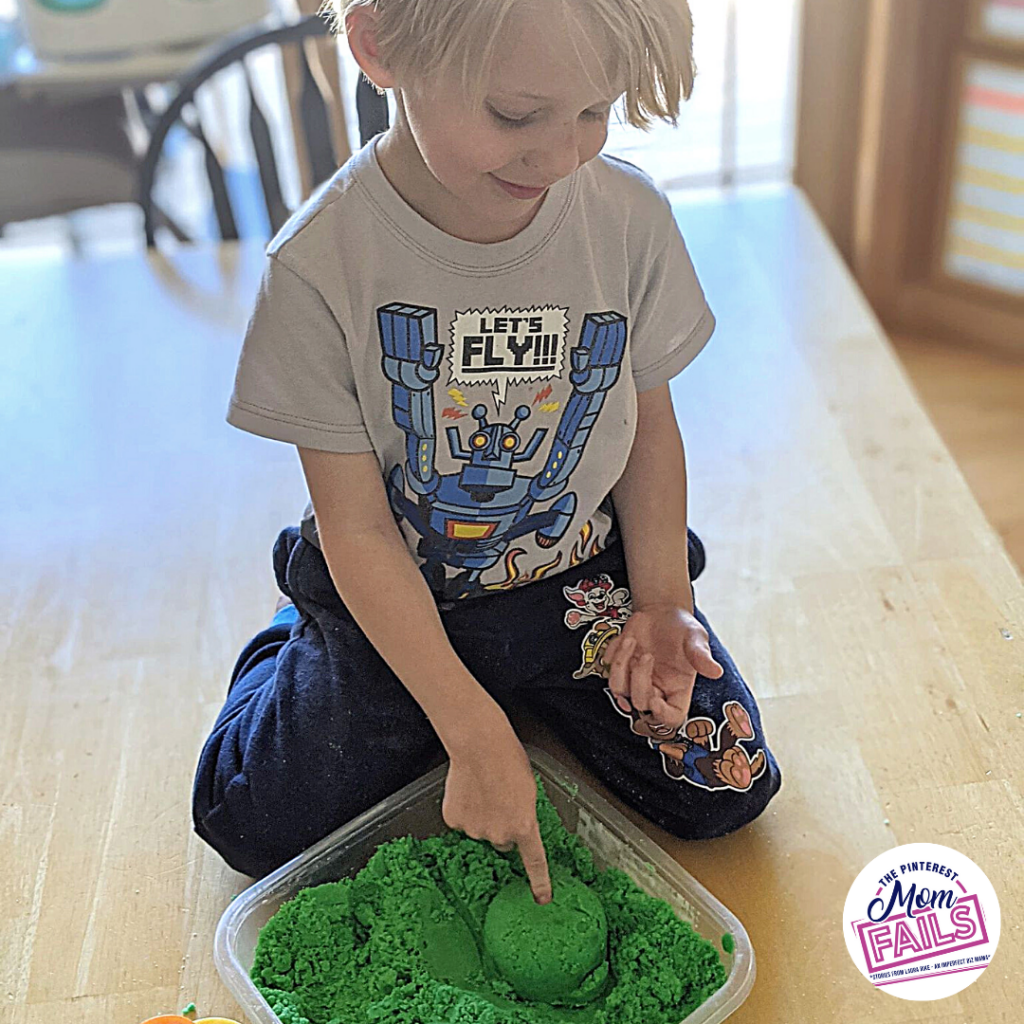
For this project, you can use regular sand for a classic playing at the beach-style sand or hit the craft store for fun colored sand. We opted to use green sand that my sold loved for a fun and bright color.
Sand from the craft or hardware store tends to come wet. This can make it hard for the oil to spread and keep your kinetic sand from having the right texture.
In a large bowl mix these ingredients together. Place in an airtight container to allow the oil to set. Kids do not tend to like waiting for this to finish drying so you may want to consider doing this after the kids are in bed. My son just had to dig in before it really had time to finish.
I had to adjust the recipe a bit to get enough oil in to achieve a more usable textured DIY kinetic sand. After a few days even in an air-tight container, it seems to need more oil to be used again. This is not a big deal and can be added just a teaspoon at a time. If the sand ends up too oily you can add a dusting of cornstarch to balance it back out.
Get your hands on a pre-made mini sensory kit!

What can you do with Kinetic sand?
Kinetic sand is a great sensory activity molding, squishing, and cutting. You can use play-dough tools or cooking tools from your toy kitchen to use for cutting and molding. Cookie cutters are a big hit as well. My son got creative and had the idea to make a heart over his hands where he used his fingers moving under the sand to make the heart “beat” I think that was pretty fun and cute.
Kinetic sand makes a great addition to a sensory bin as a filler if you are looking to mix things up with your messy sensory bins. There are some fun kits you can grab off amazon like this 61 Pieces Clay Tools Kit Include Play Dough Tools that help keep it fun and play within a sensory bin too!
How do you make moon sand less messy to play with?
This is one of those things you have to learn the hard way at some point. At first, I thought my son could play with the sand in the container I mixed it in which ended up being far too small to hold this sensory activity and we soon ended up using it directly on the table. It didn’t take long before I found myself running the vacuum over and over finding the sand in all kinds of odd places.
To help control the mess next time we will take it outside to use as part of a sand table with some fun and cheap Kids Beach Sand Toys Set on amazon to get creative with or at very least use a large under-the-bed storage bin to help hold in some of the mess. The good news is that a broom or vacuum can handle this mess fairly well if you do not mind the clean you.
Was this a Pinterest fail?
While this homemade kinetic sand wasn’t the same as store-bought and it needed a few tweaks I wouldn’t call it a fail. Overall it was very fun and really messy which as you know when it comes to playing with kids is a win. While the recipe needed a bit of a change and we had to figure out how to adjust it when it needed changes after sitting for a few days it wasn’t overly complicated and this project was definitely preschooler friendly if not Pinterest perfect.