I set out to find an activity that looked fun and exciting to help keep my son busy and found this simple squirt gun tie-dye activity that works really well for a fun and creative design. While I did this activity with my preschooler, it would work for any kids and even adults at a summer party. It can get a bit messy so when doing this activity with kids, avoid putting them in clothes you care about. Overall this was so much fun. We will definitely do it again as a family this summer.
This is a great way to explore color mixing and work on building both fine and gross motor skills while your child works on pulling the trigger while moving the squirt gun to make patterns with the squirter. On a hot sunny day, the patterns you make will dry fast, hanging in the sun, making for a great opportunity to talk to your child about evaporation.
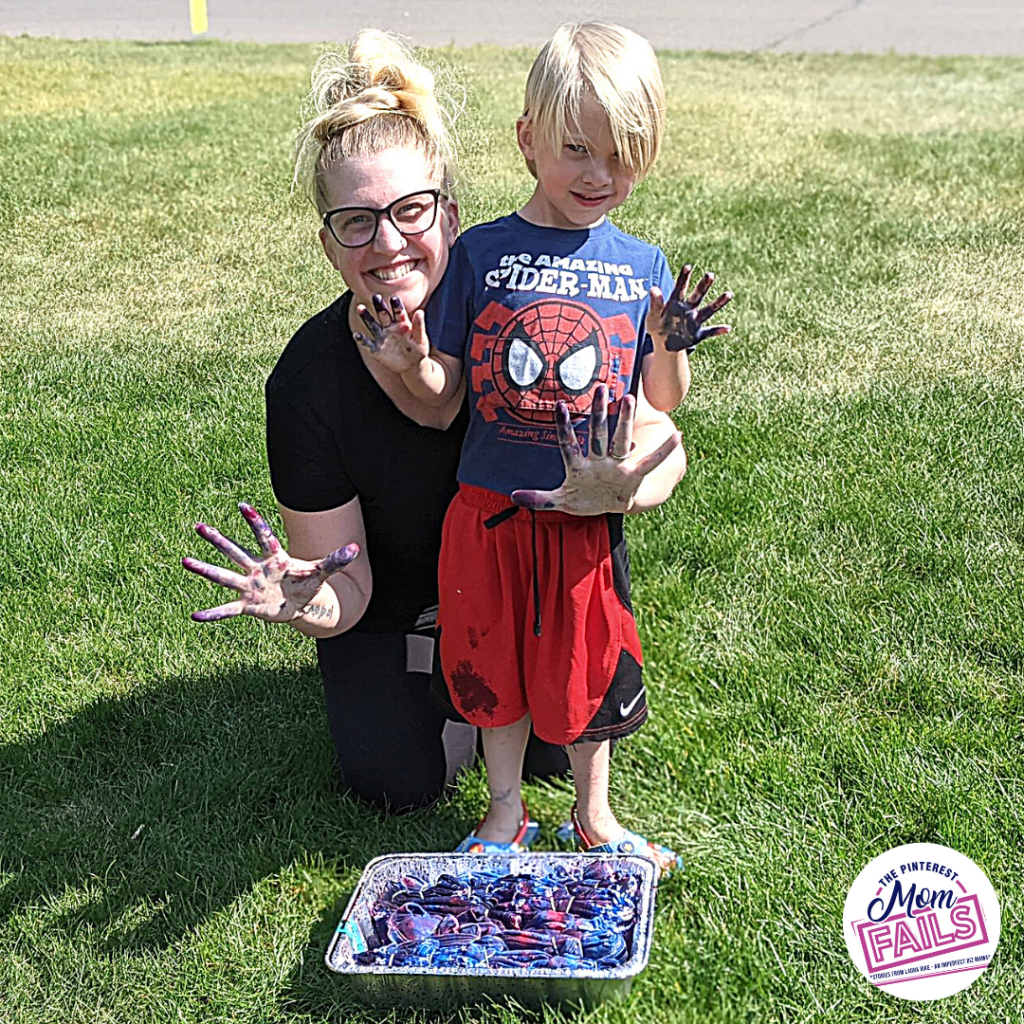
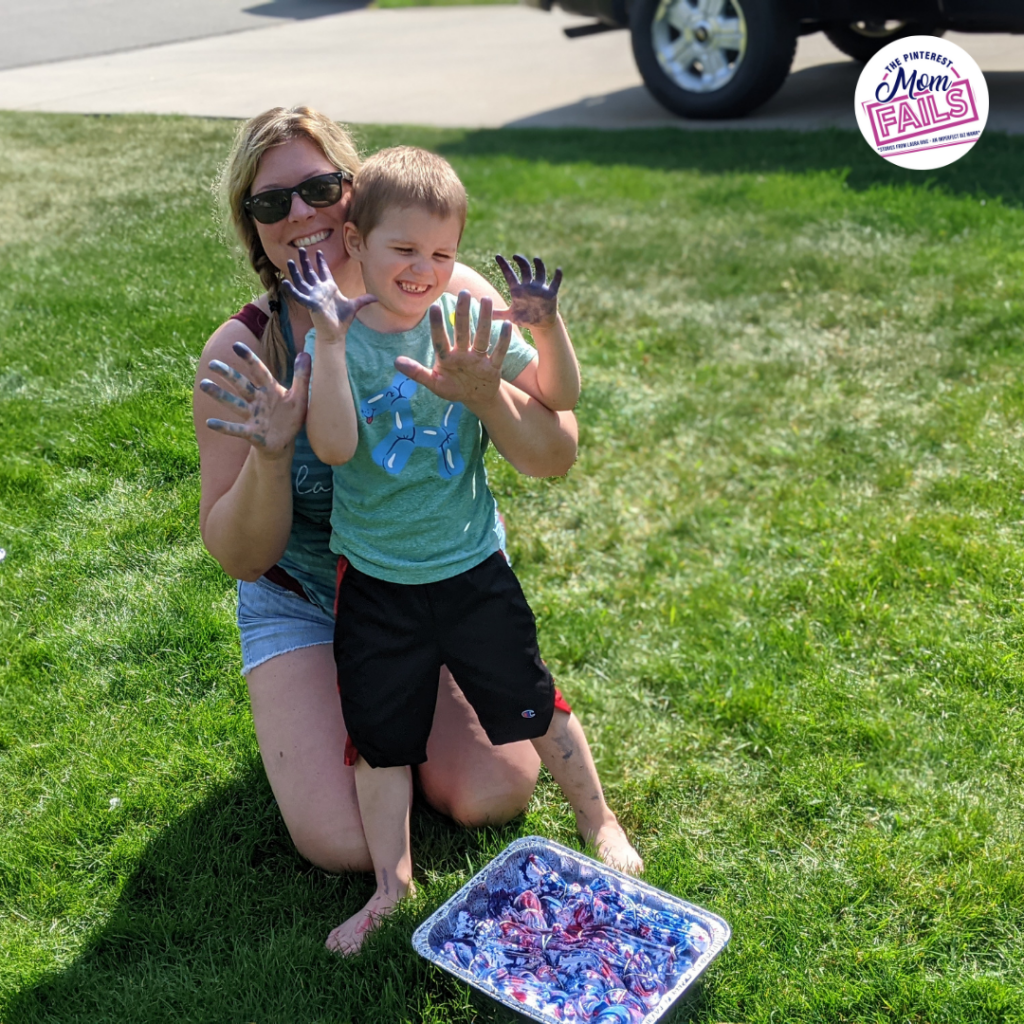
Squirt Gun Tie Dye Activity
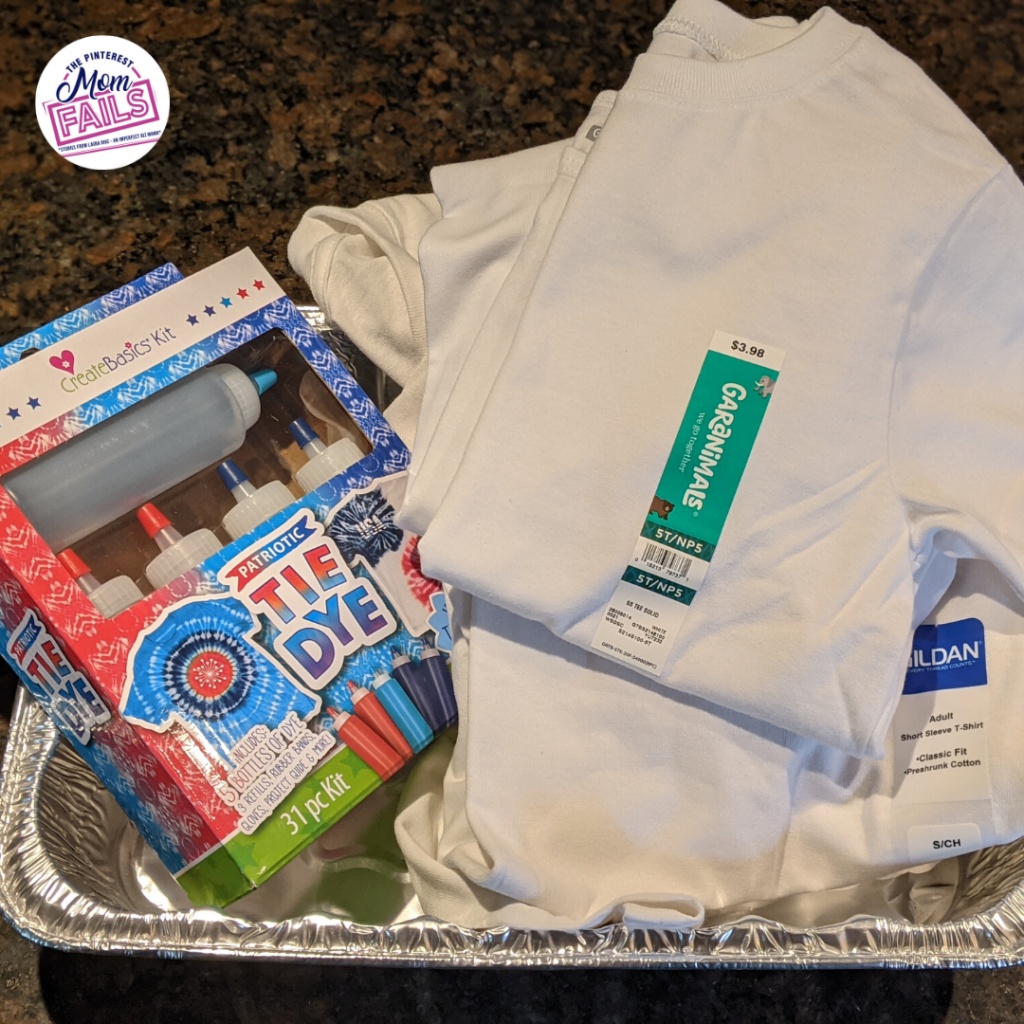
To do this simple tie dye shirts activity, you need:
- a squirt gun (or a few so you can change up and use different colors),
- fabric dye
- a white shirts or light-colored cotton shirt you plan to decorate
- rubber bands (optional)
- a tray or baking pan to hold the fabric
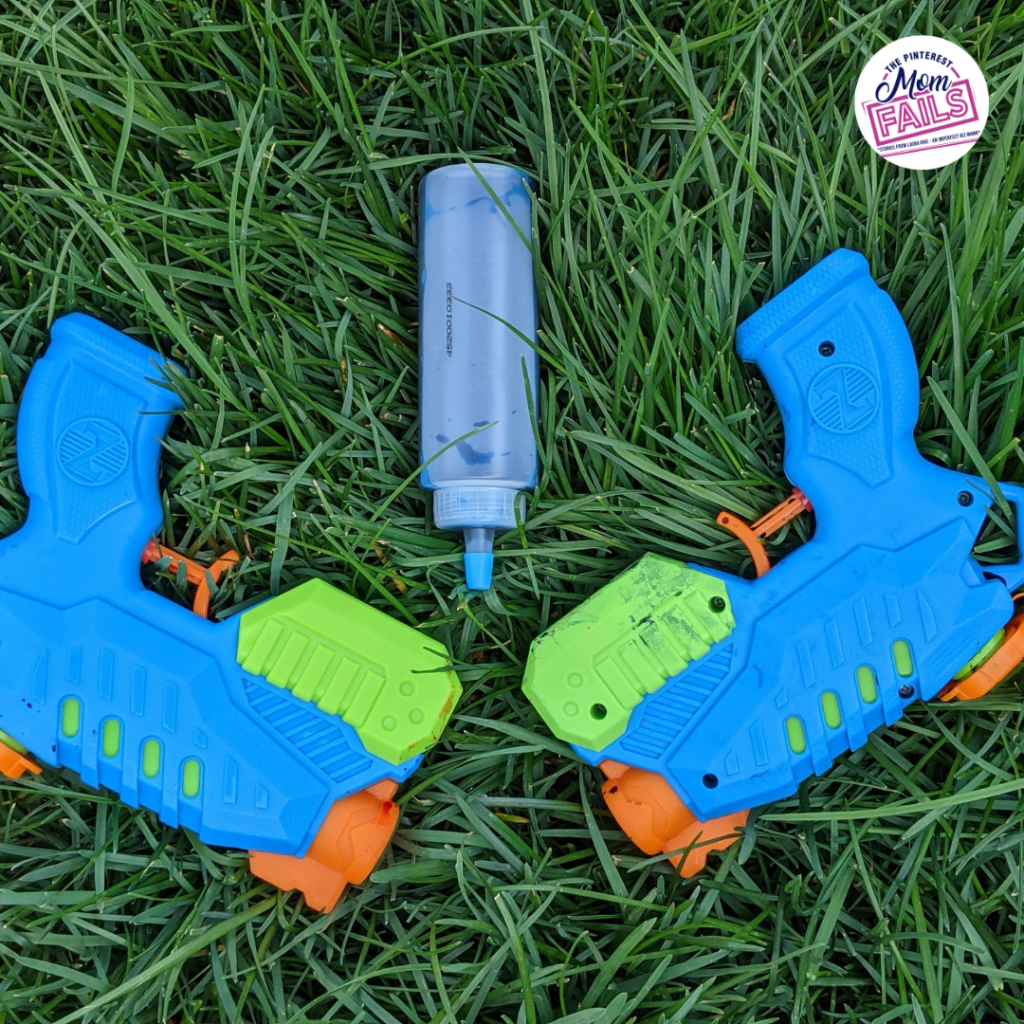
Filling the squirt guns can be a bit tricky. For the best results, see the squeeze bottles that come with most tie-dye kits or opt to use a syringe from the cooking section for a quick and easy way to fill the squirt guns without a lot of mess. Squirt guns do leak, so you want to be mindful of this while you are using them and wear gloves to help keep the mess under control. When you are done with this, the squirt guns can be rinsed out and filled with water for normal play though the plastic may show some marks from the dye afterward.
After your water guns are full and you are ready to get started, rinse your shirts and wring them out to make sure they are nice and damp. This will help the dye spread, so you get a more classic tie-dye look rather than just straight lines from the way the water gun squirts. The bigger the shirt, the wetter you want to leave it so the ink can spread further into the fabric.
Once your shirt is nice and damp, you can twist and flip the fabric to affect where the color will land. Rubber bands make it easy to place the design and keep it in place while the kids have fun. The folding method is easy but didn’t get as cool of a design for us, so we recommend twisting for a better final product.
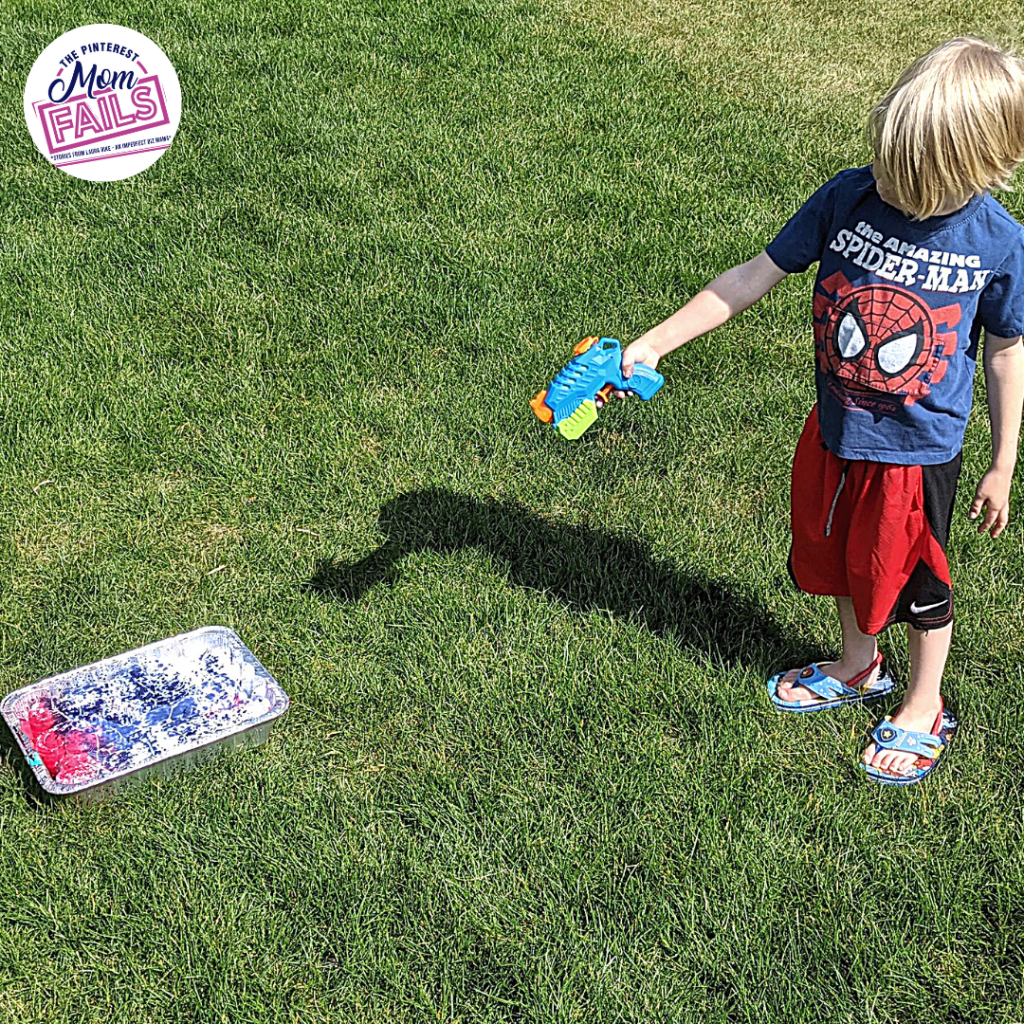
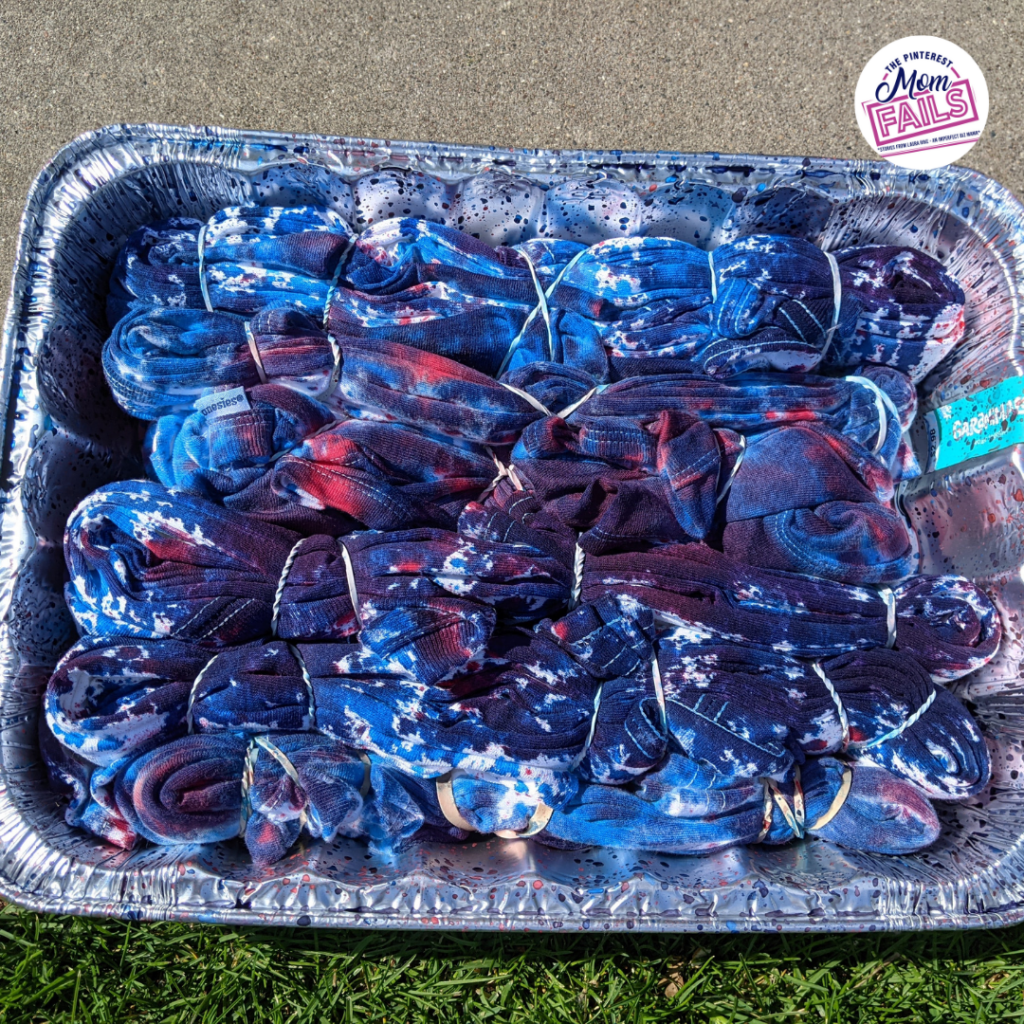
Have your child squirt the shirt in the container until the desired saturation is achieved. For the best results, use several contrasting colors and leave some white space on the fabric. If needed, you can flip the shirt over to get the other side with color to ensure it spreads the way you want it to so the design surrounds the shirt. This is particularly useful when you are doing tye dye on a larger piece of fabric.
After you are done, unfold the shirt and hang it to dry before washing with vinegar to help the color set into the fabric while washing away excess dye. Dry in the dryer to help the color further set. If you want to prevent the colors from bleeding, you can add a few color catcher sheets to the wash to help catch excess dye and prevent bleeding.
Was this Pinterest activity a Fail?
No, this Pinterest activity was amazing, and I discovered just how proud kids can be when making clothes of their own. Every shirt comes out differently, and the entire process is fun. All in all, this makes a great activity for kids and can even make a great homemade gift kids can make for loved ones. Tie-dye t-shirts, cotton baby blankets, and even tea towels for fun gifts everyone will love that your child can be proud to give. Don’t forget Father’s Day is coming up, and this would make a great homemade gift to give to the men in your child’s life. Any cotton fabric items are great for Tye Dye projects.

More fun with tie-dye squirt guns.
Another activity with these squirt guns full of dye is to simply hang the items up on a clothesline and have the kids paint them with the squirt guns. This is a great way to get a fun splatter design and use the opportunity to show your child how the water pressure and shapes of the spatters change from up close to at a distance by stepping back a few steps with each change of the color.

