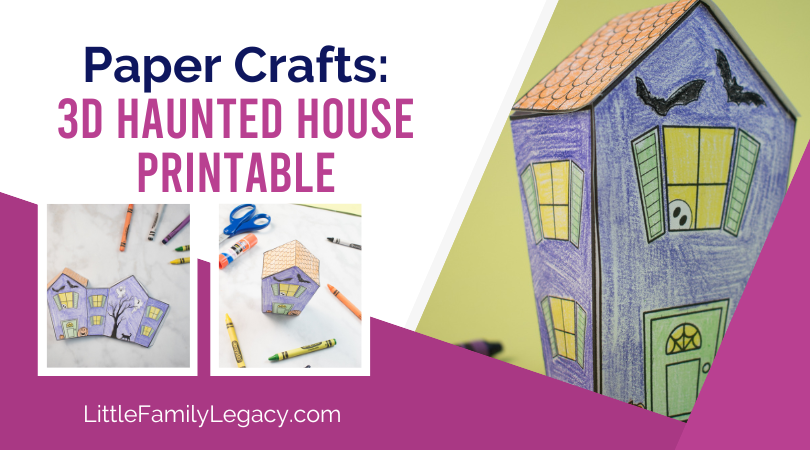
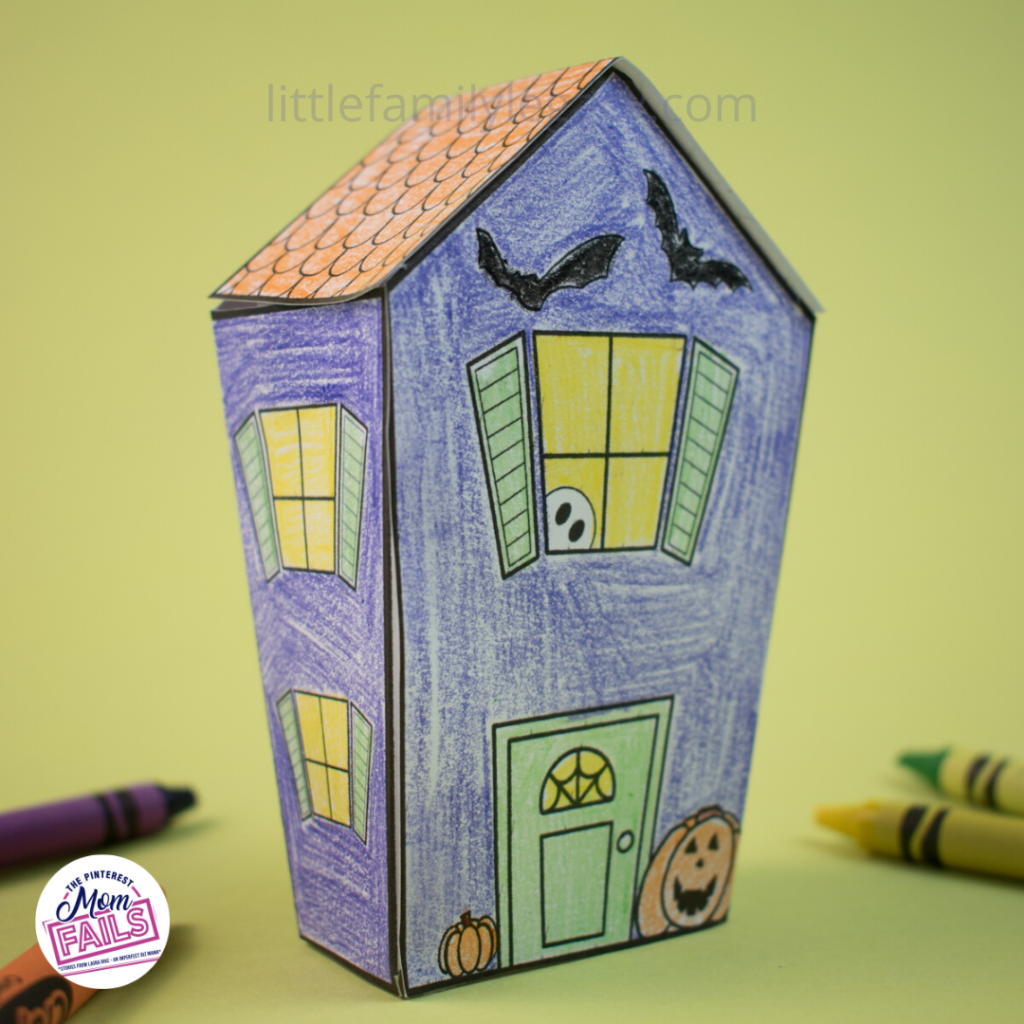
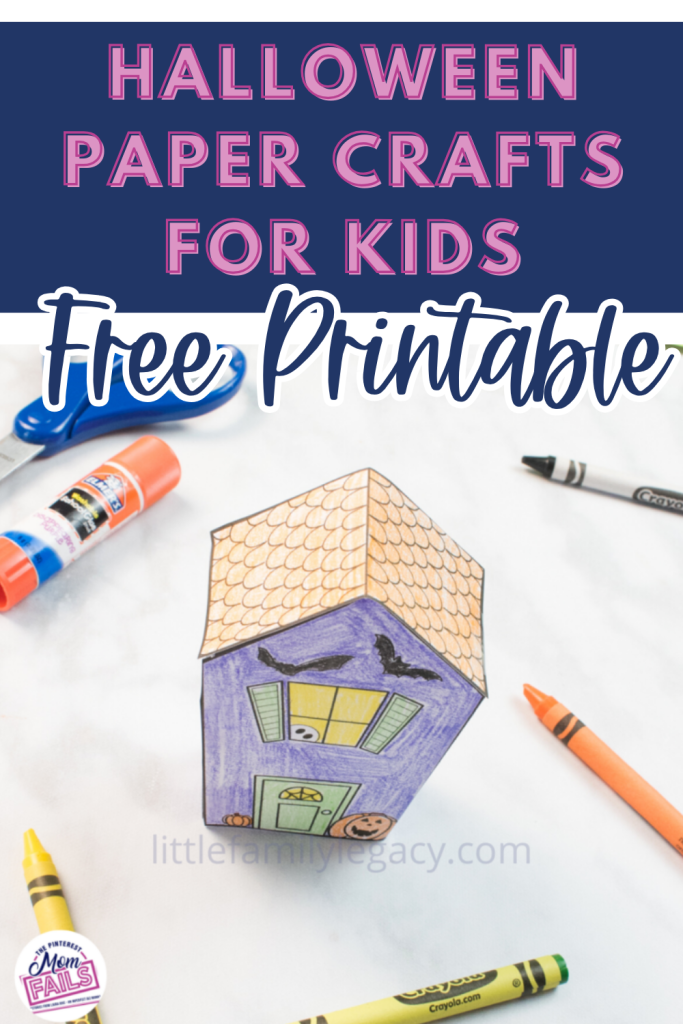
Halloween paper crafts: 3d Haunted House
If you’re looking for a fun and easy way to get into the Halloween spirit, look no further than this 3D haunted house paper craft! It’s a great project for kids of all ages, and can be adapted to suit any skill level. So gather up your materials and get ready to create your very own spooky abode!
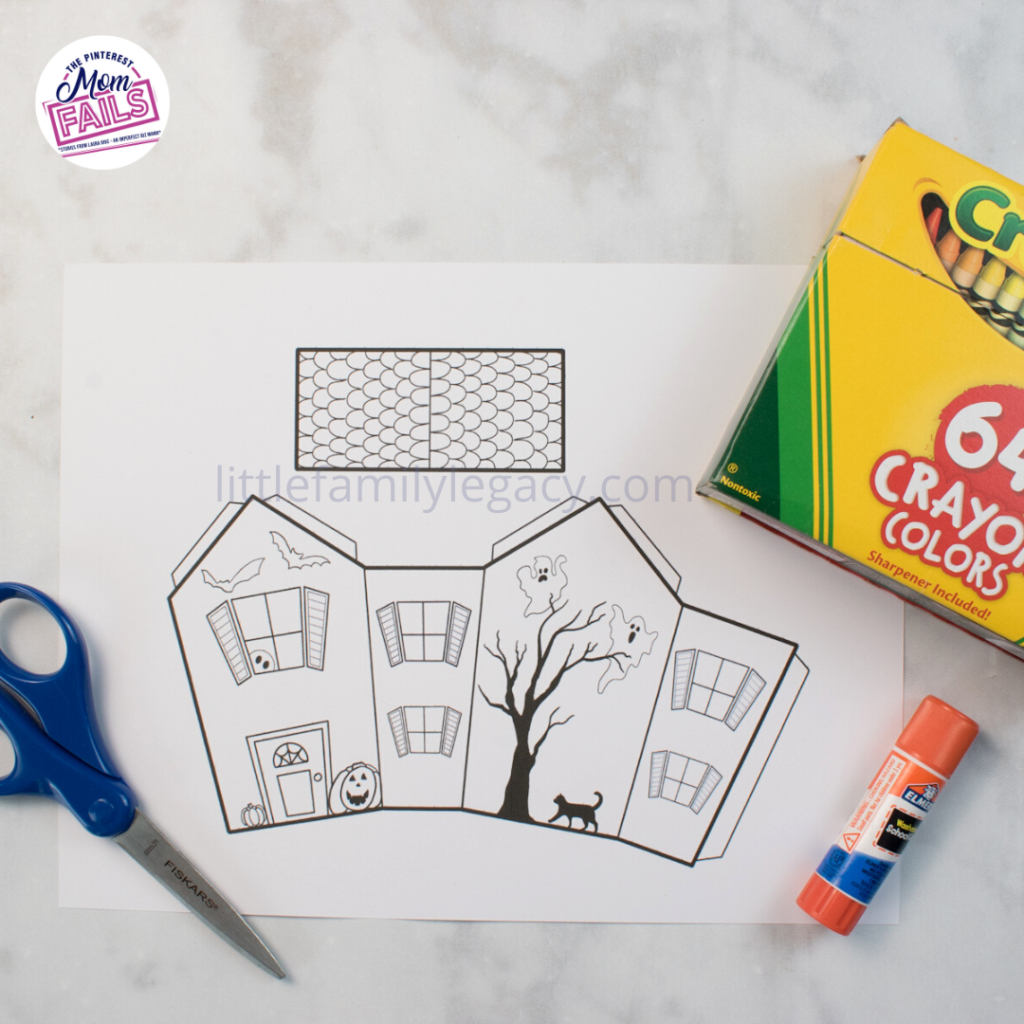
You’ll start by cutting out the basic shapes of the house, then assembling them into a 3D structure. Once the house is built, you can add your own personal touches to make it look truly eerie. I’ve provided a free printable template that you can use as a guide, but feel free to get creative and add your own unique details!
DIY halloween paper crafts
Here’s what you’ll need to get started:
- Construction paper in various colors
- Scissors
- Glue or tape
- Markers or crayons (optional)
- Halloween paper crafts printable
First, print out the halloween paper crafts printable template and cut out all of the pieces. You’ll need two copies of the front and back walls, one copy of the roof, and four copies of the side walls. If you want to add windows and doors, you can cut those out as well.
Now it’s time to decorate! You can use markers or crayons to add details like bats, ghosts, and spider webs. Or get really creative and turn your haunted house into a spooky castle or graveyard!

Next, start assembling the house by gluing or taping the front and back walls together. Then do the same with the side walls. Once all four walls are assembled, attach them to the roof piece.

Whether you’re crafting with kids or just looking for a fun project to do on your own, this paper craft is sure to please. This project is great for kids of all ages, and can be adapted to suit any skill level. So gather up your materials and get ready to create your very own haunted house!
Paper Halloween Crafts for Toddlers
There are lots of fun and easy paper Halloween crafts for toddlers that you can do at home. Here are a few examples:
1. Ghost Garland – Cut out a bunch of ghost shapes from white construction paper, string them together, and hang them up as a festive garland.
2. Spider Web – Cut a large circle out of black construction paper and make spiral cuts radiating out from the center. Have your child help you tape or glue white yarn all over the web to create the spider web effect.
3. Jack-O-Lantern Faces – Draw or print out some pumpkin faces on orange construction paper, then let your toddler cut them out and glue them to black pipe cleaners to create cute faces.
Halloween arts and crafts for babies
There are a number of fun Halloween arts and crafts that you can do with your baby. Here are a few examples:
1. Make a mummy baby: Wrap your baby in toilet paper or white gauze strips, and use black markers to give them dark eyes and lips.
2. Make a pumpkin baby:Carve a small pumpkin to look like a baby, and place your baby inside it. Then use green pipe cleaners for the stem and leaves.
3. Make a batty baby: Cut out two large wings from black felt, attach them to your baby’s body with safety pins, and add some fake eyes using googly eyes or felt balls.
Other fun Halloween paper crafts:
One easy and fun Halloween paper craft is to make a Jack-o-Lantern. Start by drawing a pumpkin shape on some orange construction paper. Cut out the shape, then use a black marker to draw in the facial features. You can also cut out some leaves from green construction paper and glue them to the top of your Jack-o-Lantern.
Another simple Halloween craft project is to make a ghost out of white construction paper. Cut a large rectangle out of the paper, then fold it in half lengthwise. Draw eyes and a mouth on the top half of the ghost, then cut it out along the drawn lines. Open up the bottom half of the rectangle, then curl it up into a tube.
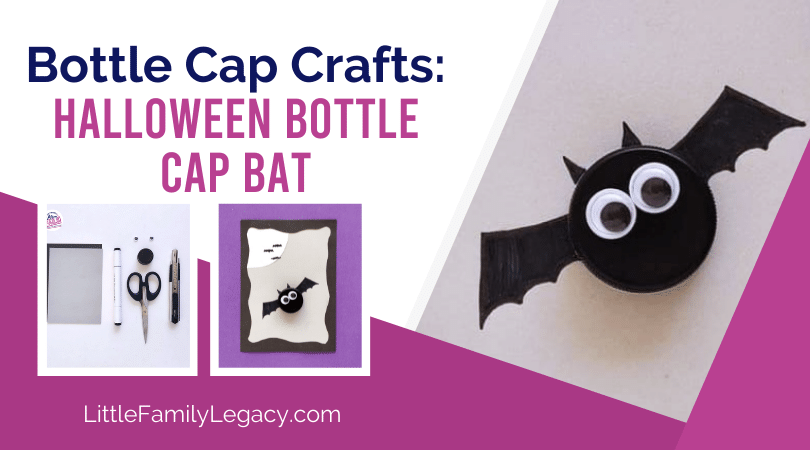
A simple project is to cut out a few black bats from construction paper and tape or glue them to a length of string or yarn. You can hang these decorations from the ceiling or around your porch to greet guests. Check out this project here: Bottle Cap Crafts: Halloween Bottle Cap Bat
